
 Reply With Quote
Pic of othertwo 1 1/2" drains. I'm seriously debating whether to hard plumb the rest to the sump or use spa flex...we'll see.


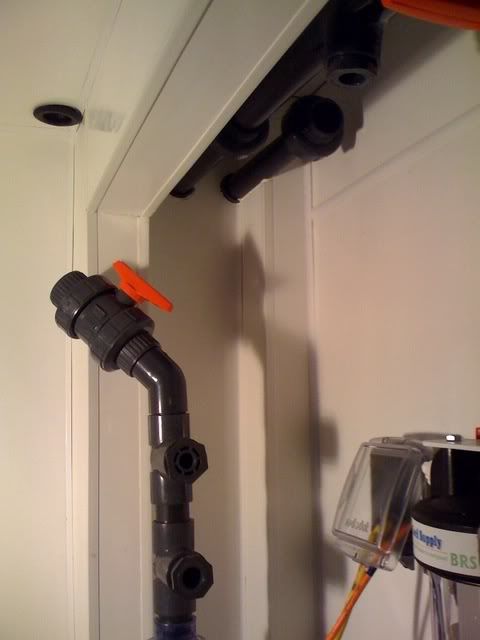
Here's a pic of 2 of the 1 1/2" drain pipes. I'm toying around w/the idea of feeding one of the drains directly into the skimmer. Any thoughts ?
I'm also using uniseals to cover any holes I make, but also to help dampen sound.
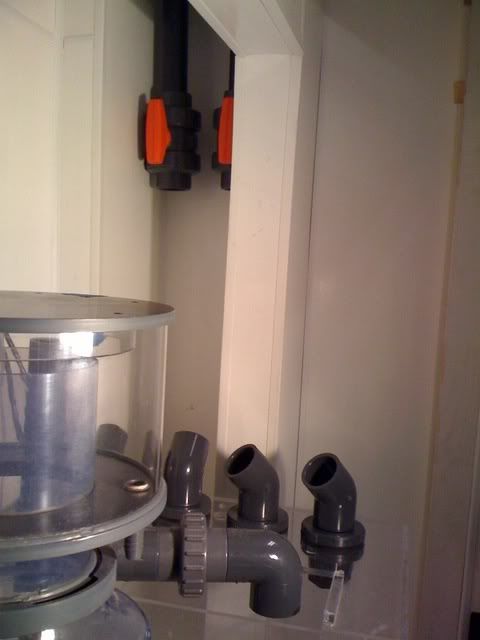
Pic of othertwo 1 1/2" drains. I'm seriously debating whether to hard plumb the rest to the sump or use spa flex...we'll see.
The sump originally had two 1" holes for the bulkheads. As you can see I had to blow four 1 1/2" holes in there (I went through 3 fully charged batterys to do it !).
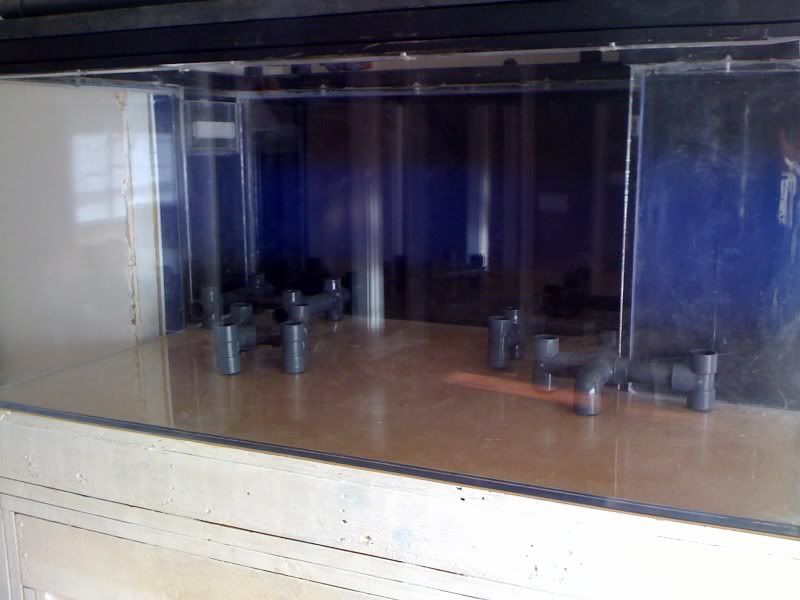
A pic of my dirty tank (sheetrock dust gets every where and I didn't feel like climbing in there to clean it). I got a chance to make a pvc frame for the rock scaping. As soon as I get my light rack from Gen I can start installing the lights and going to town w/the rock !
Any ideas on putting the light racks on a actuator or pulley system ?

I like the waterproof outlets. Nice...
Since your still in the plumbing stage, I would definitely plumb your drain directly into the skimmer with a gate valve to control flowrate. Usually I've seen the drain split with the lower outlet going to the skimmer while the upper outlet is the bleeder that allows most of the air bubbles to escape. Fins claims that performance is the same, probably because the skimmer outlet of H&S skimmer is so easily directed into the next sump compartment.
Happy T-day to you and your family Jim!
gimmito (12-05-2010)


Things are looking great!
Carmie
Only disasters happen fast!
Carmie's 54 Corner Tank
Carmie's Cube
Show people you value their advice! Click the STAR icon at the bottom of the post to add to their reputation.
Originally Posted by rroselavy

I know I can always count on good advice from you Scott. I think I'll plumb them to feed the skimmer both ways just to see how they work (I can always use it to feed another reactor). You have a Happy Thanksgiving with your family also.
Gen's been working on the light rack design. I'm still contemplating using an actuator or a pulley system. Any thoughts ?
http://picasaweb.google.com/lh/photo...eat=directlink
Jim


So where do i sleep.?
wow, so much catching up to do. maybe after christmas ok.

Vquilibrium Productions
It seems to me that there is less to go wrong with a pulley system BUT, this is way outside of my area of expertise.
Carmie
Only disasters happen fast!
Carmie's 54 Corner Tank
Carmie's Cube
Show people you value their advice! Click the STAR icon at the bottom of the post to add to their reputation.
Good to hear from you mate...Happy Holidays to you and yours.
Good point Carmie...sometimes keeping it simple is better.


what about mounting the lighting on a heavy duty set of drawer slides. get the ball bearing kind for the load. that way the lights will just slide back, or out of the side then they are very out of the way. it will also make bulb replacement easier.
we are all on the long road to our dream tanks, im going slow and enjoying the journey!
gimmito (12-05-2010)
I do have a some heavy duty guides a carpenter buddy gave me and I have an actuator I bought from a fellow hobbyist. It allows me to move it up and down, but I'm trying to figure how to slide it and go up and down.
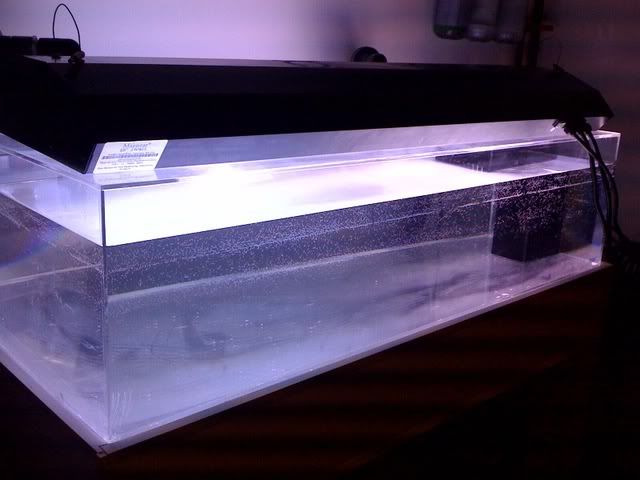
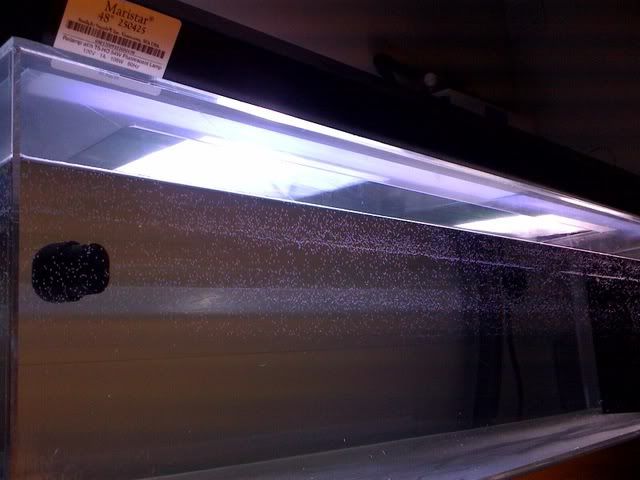
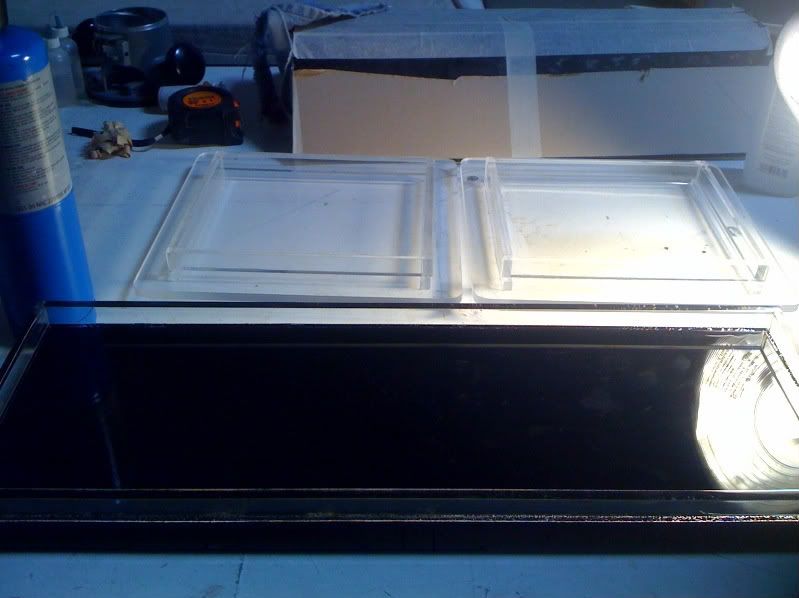
Here's an update on the water test of the frag tank.
It looks good!
Carmie
Only disasters happen fast!
Carmie's 54 Corner Tank
Carmie's Cube
Show people you value their advice! Click the STAR icon at the bottom of the post to add to their reputation.
Thanks Carmie.
I just picked up a Maristar 4 foot 2x250 w/halide/t5 combo from H20player. I just need a hanging kit and I'm good to go.

Awesome looking fixture!!
Ray or Raymond
There is no elevator to success in marine tanks. You have to take the stairs.
Raymond's 30 gallon tank
Raymond's 60 gallon tank
Show people you appreciate their advice! Click the star icon under their name to add to their reputation.
Christmas came early.
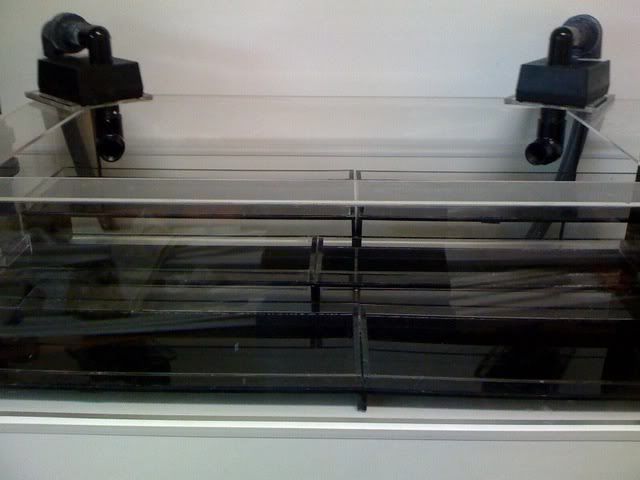
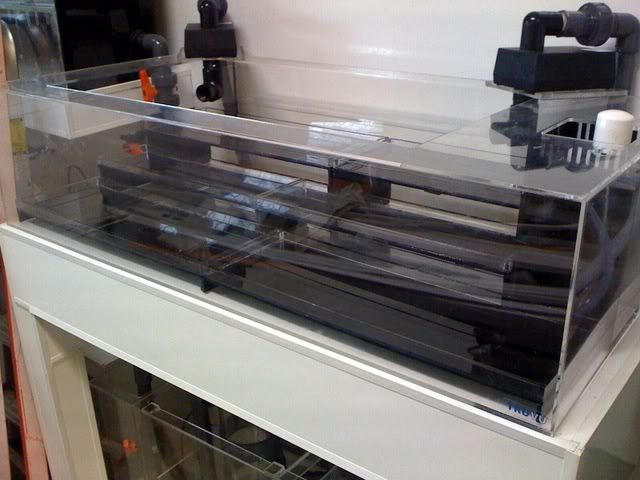
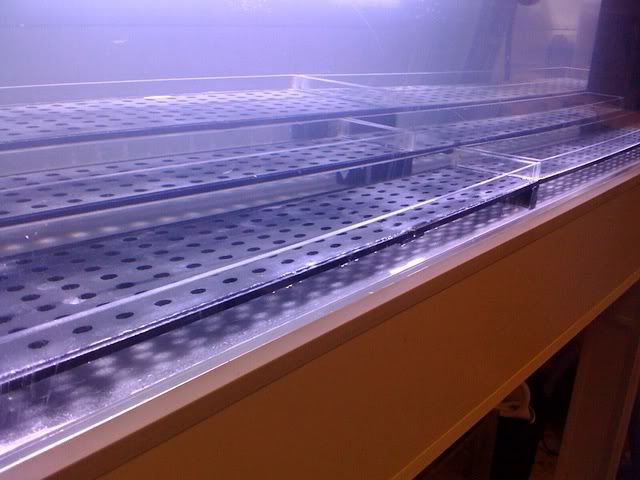
Here's a pic of some black acrylic frag racks Gen made for me.
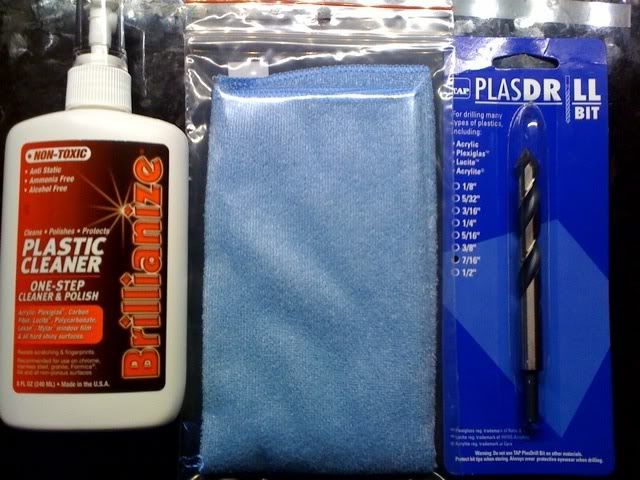
I made a Tap Plastics run and picked up some acrylic cleaner and cloth. I was looking at the Novus to buff out some scratches on the frag tank, but it was pretty expensive. :O I also picked up a 7/16' acrylic drill bit to drill holes for the frag plugs.
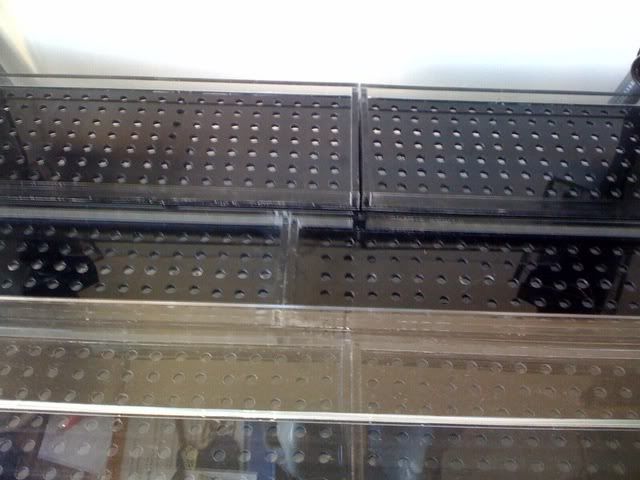
I got a chance to polish the lids and frag rack at Gen's. Who would have thought using a blow torch could be so fun ?
I had Gen tier the frag racks for light loving corals. I also drilled out 816 holes for the frag plugs...boy am I tired.
For all of you who ask for water...Here you go.
There are currently 1 users browsing this thread. (0 members and 1 guests)
 Posting Permissions


Bookmarks